
For my card, I chose the vertical row on the left: Green, Holiday Floral, Scoring.
I used the Stampin' Up! Merriest Moments bundle along with Painted Christmas DSP.
%20watermark.JPG)
For my card base I used Basic White cardstock.
For the score lines, I used my Score Board & Stylus, angling the 4 x 5 1/4 Basic White cardstock at an angle (I used the 5" mark and angled from corner to corner). The lines were scored every 1 1/2 inch. Next I turned the cardstock around, angling it from the opposite corner down and repeated the score lines in the same way.
%20watermark.JPG)
To create the cool "tile" effect, I used sticky tape and angled it along the edge of the score line (covering the valley). I used another piece of sticky tape on the other side so the diamond is covered on two sides. Unless you want to shade around all sides, leaving the center lighter. There are so many options with this technique.
For my card, I only wanted to shade the bottom of each diamond shape. Using my blending brush and Garden Green ink, I blended from darker at the point to lighter as I got closer to the center of the diamond. Repeat the process for each diamond shape.
This technique is so cool... it actually looks like tiles!
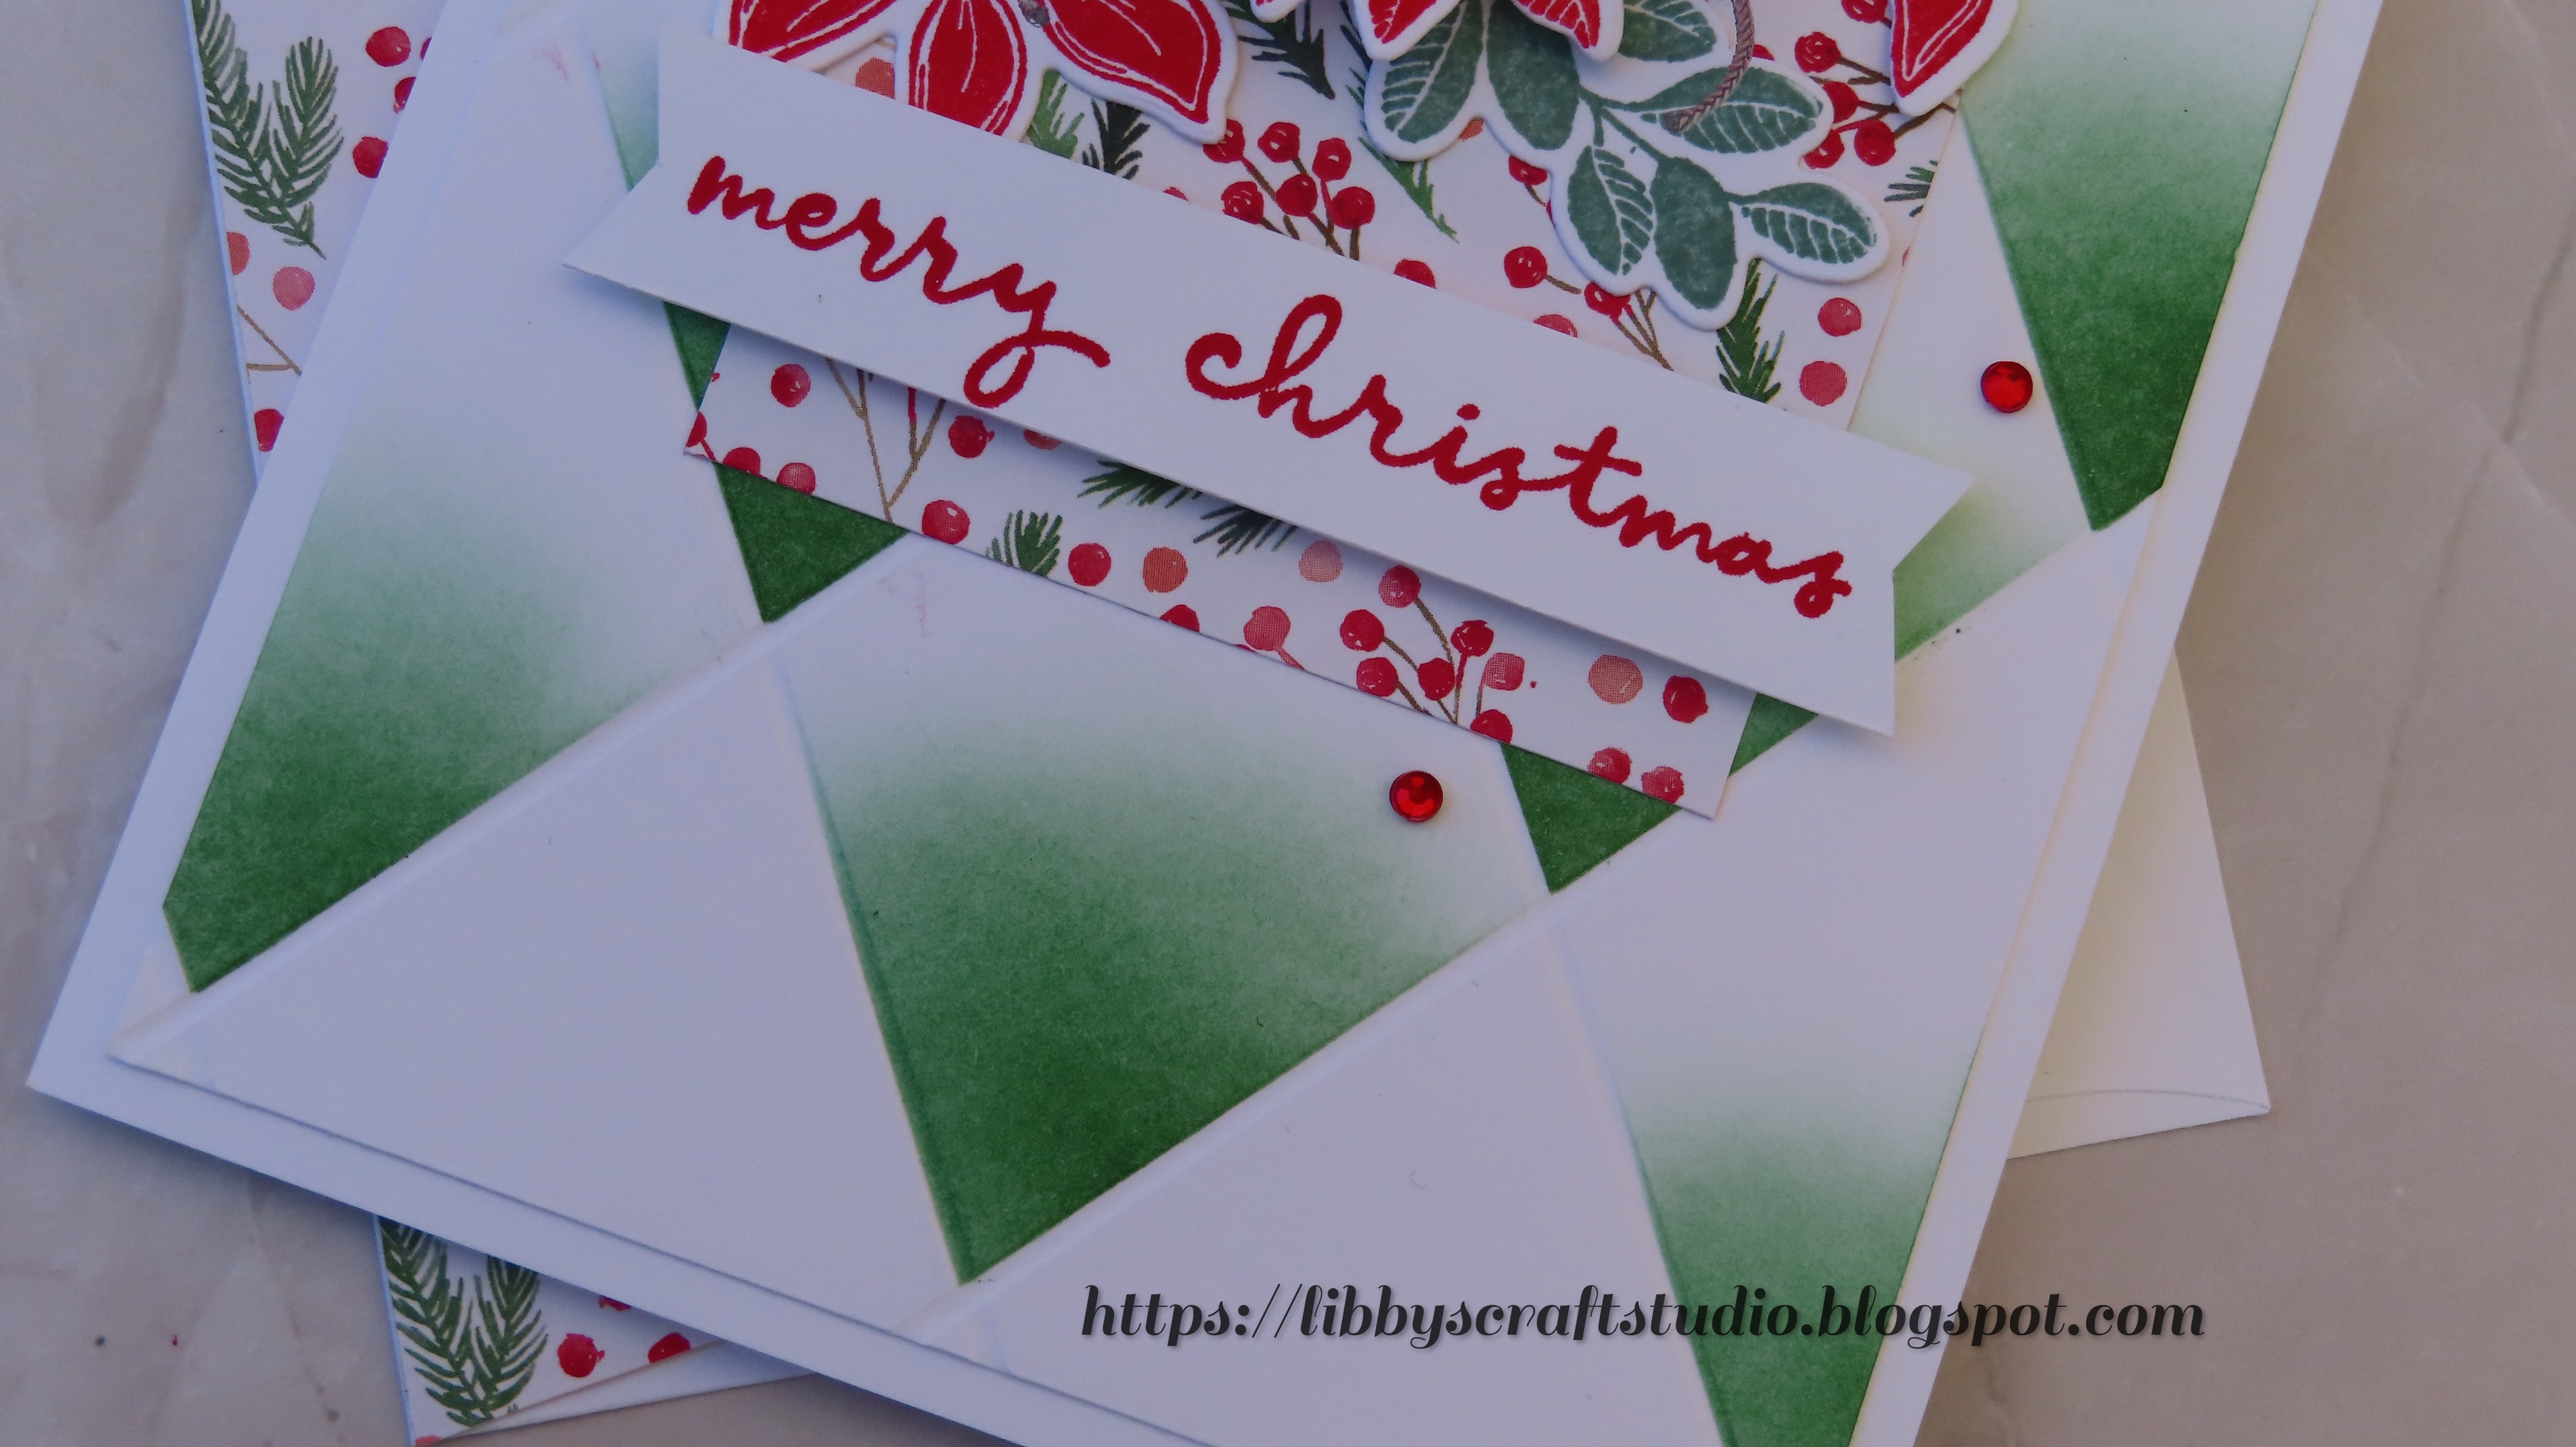
A strip of the Stampin' Up! Painted Christmas DSP was added from the top, centering, to about 3/4 down. I wanted to leave lots of the background design showing.
The sentiment was stamped using Real Red ink onto Basic White cardstock. The ends were flagged and adhered with dimensionals.

The flowers were stamped using Real Red ink. The leaves stamped using Soft Succulent ink. After all images were die cut, the two largest flowers were layered and Silver Trim was looped under it before adhering with dimensionals. The two smaller flowers were added on each side, angled in a bit of a curve. The leaves were tucked under the larger flower with liquid adhesive.
%20wateramrk.JPG)
Inside my card I could showcase more of the beautiful DSP by adding a smaller layer of Basic White. One of the die cut images was added in the lower corner and I stamped another of the same image in the upper corner.
The sentiment inside my card is from the Brightest Glow Stamp set, using Real Red ink.
%20watermark.JPG)
Thanks so much for stopping by today.
Remember to subscribe to my blog to receive an email notification with each new post.
Also, click on the "Home Button" at the end of this post to take a look at my other projects.
You can follow me on Pinterest, Instagram and my Facebook Business Page.

Polly... I love your diamond technique! The diamonds are fabulous and oh so fun. Beautiful DSP and the coordinating poinsettias/sentiment are perfect! Your card came together perfectly! Thank you so much for joining and sharing (!) at Tic Tac Toe this week.
ReplyDeleteThanks so much, Eliz! :)
DeletePolly, I was just so amazed with your diamond technique. My goodness, what a spectacular design it creates and complements the rest of your card beautifully! Thanks so much for playing along with us at the Tic Tac Toe Challenge this week!
ReplyDeleteThanks so much, Stef! :)
DeleteLove love LOVE the amazing background on your creation, Libby! Thanks for the inspiration! I have pinned your masterpiece!
ReplyDeleteCrafting Smiles,
Donna
{Creative Smiles - my little crafting world}
Thank you, Donna! So happy you enjoyed my card! :)
Delete