Today's card was created, as part of the Design Team, for...
TSOT (Try a Sketch on Tuesday) Challenge #652.

For my "Sending Love" card, I used Stampin' Up! Wild Ferns Stamp Set, Country Flowers Bundle & Dashing Designs 3D Embossing Folder, along with Sandpaper/Sanding block.
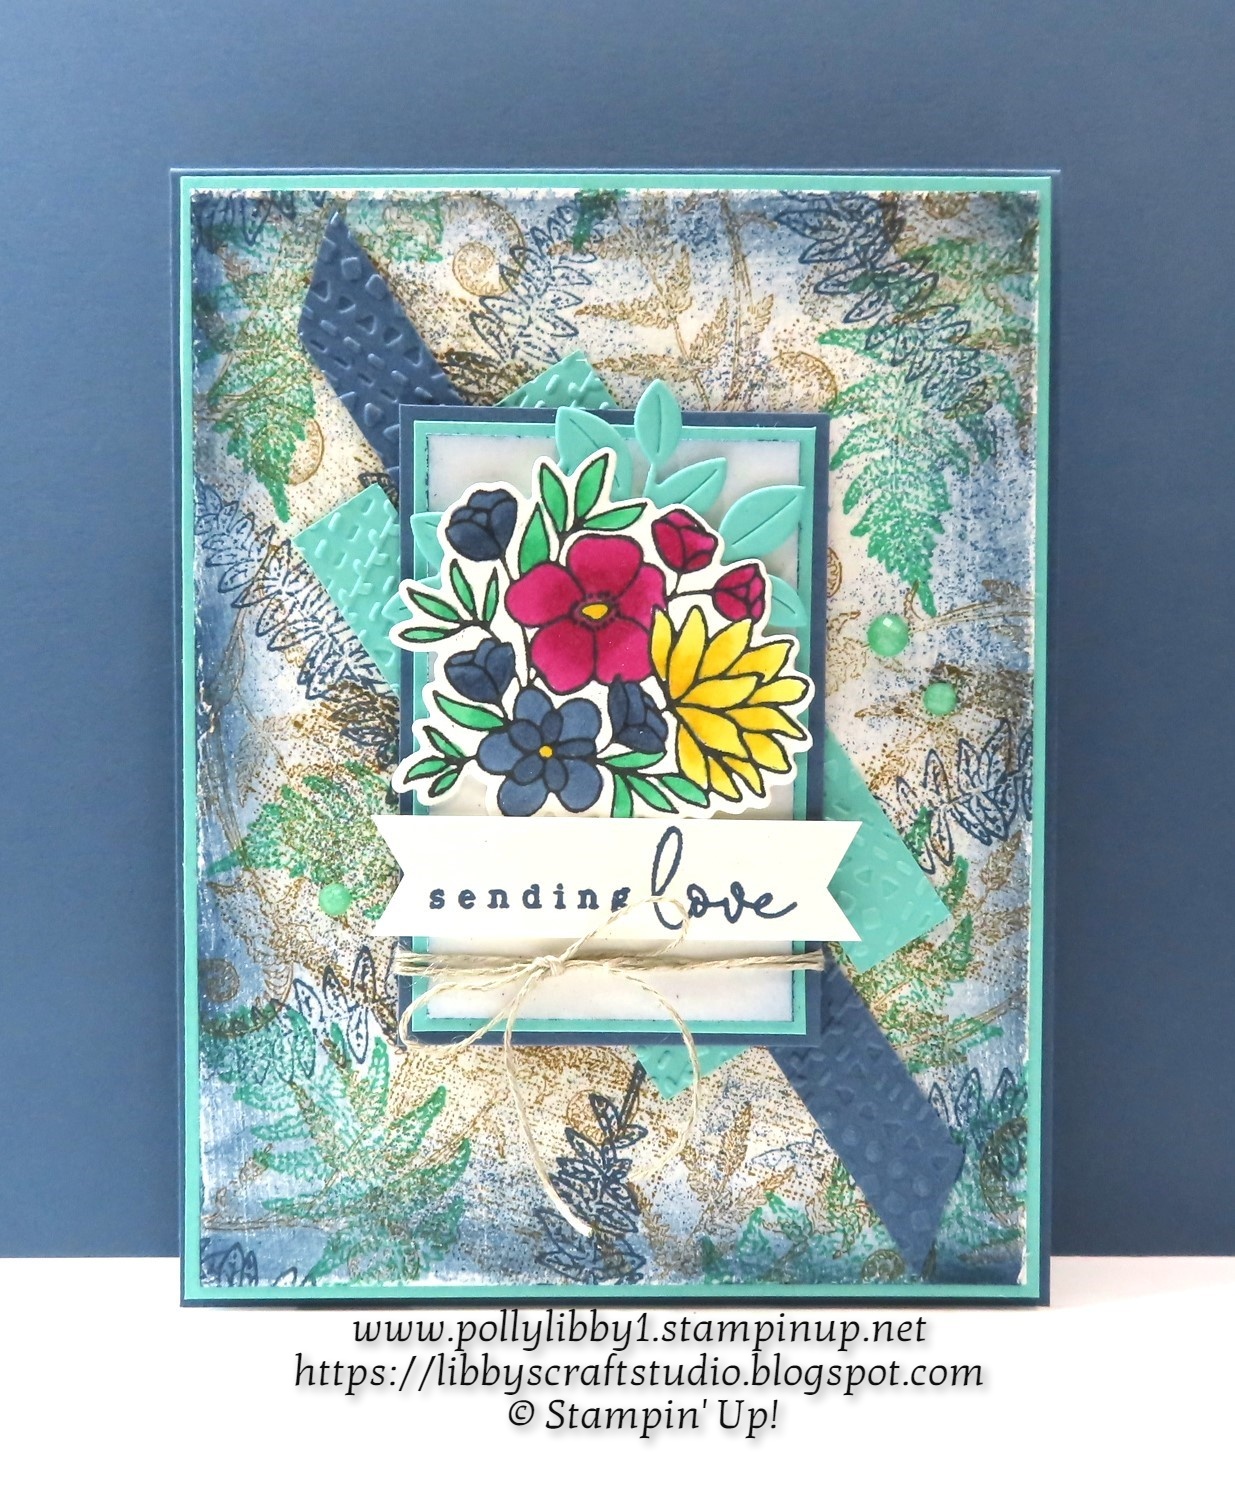
Misty Moonlight was used as my card base with the next layer Shy Shamrock.
The strips behind the focal image are Misty Moonlight and Shy Shamrock and were embossed using Dashing Designs 3D Embossing Folder.
The mats behind the flowers are Misty Moonlight, Shy Shamrock & Basic White. A light coloring was added to the Basic White with a Blending Brush and Misty Moonlight ink. There layers were adhered to the center of the card with Stampin' Dimensionals.

There are different ways to achieve this faux linen technique.
The first one I tried was using glossy paper, but I really didn't like the final results. Plus, a lot of my stamped images ended up being sanded too much. And while I could see the sanding lines, I really didn't like it.
The next one I tried was with tissue paper. Stamp your images and sponge Multipurpose Liquid Glue over the entire cardstock, crumple up tissue paper and smooth it out over the cardstock, leaving the wrinkles in the tissue paper. While this was pretty cool, it wasn't what I was going for. This is a great way to add texture to any card though!
So, I decided to do my own thing and just use regular Basic White cardstock.
And, I loved the final results! It makes the paper so soft and actually feels like linen! It does require a lot of sanding, but oh so worth it!
How did I do this?
I started by stamping a fern image on Basic White with Misty Moonlight ink. Next I sanded the paper in one direction and then again in another direction. The next fern was stamped with Shy Shamrock ink. The sanding process was repeated.
The final fern image was stamped with Pecan Pie ink and repeated the sanding process.
A light coloring was added around the edges with a Blending Brush and Misty Moonlight ink. And finally, I sanded around the edges a bit more.

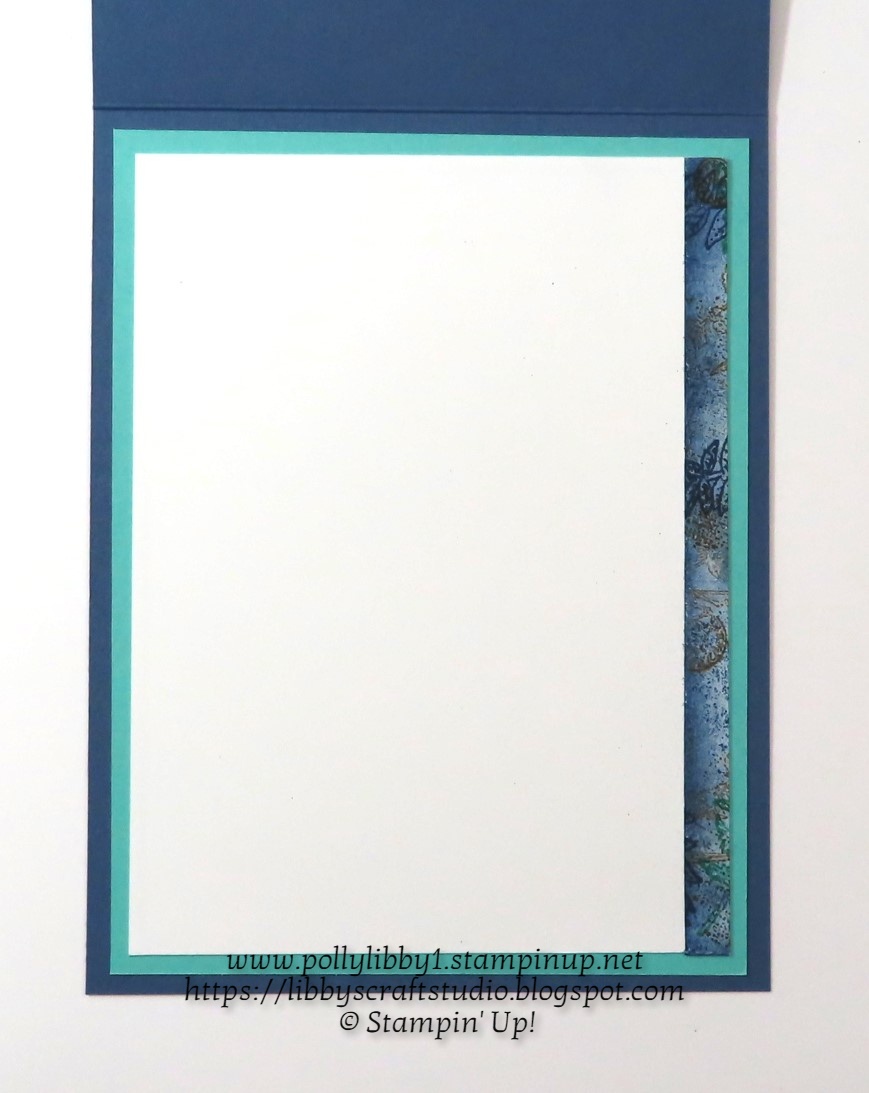
Inside my card is Shy Shamrock layered with Basic White. A scrap of the faux linen was adhered on the right.

The flowers were stamped with Memento ink and colored with Daffodil Delight, Shy Shamrock, Berry Burst & Misty Moonlight Stampin' Blends Markers.
The leaves behind the flowers were die cut using Shy Shamrock.
The flowers were die cut and adhered on the card with Stampin' Dimensionals.
The sentiment is from Country Flowers Stamp Set, stamped with Misty Moonlight ink, trimmed and flagged on each end. The sentiment was adhered with Stampin' Dimensionals.
Linen Thread was wrapped around the center layers twice and tied in a bow.
The finishing touches are the 2024-2026 In Color Shimmer Gems (Shy Shamrock).

I loved this technique, and had to give it a try on the envelope flap as well!
Thanks so much for stopping by my blog today.
*************************************************
I would love for you to SUBSCRIBE to my BLOG.
Also, click on the "Home Button" at the end of this post to take a look at my other projects.
You can also follow me on Pinterest, Instagram and my Facebook Business Page.
***************************************************
The Sept. - Dec. Mini Catalog will be available September 3rd!

The holiday season is the perfect time to gather together and make handmade gifts, tags and cards for those you love most! And our new Sept. - Dec. 2024 Mini Catalog is full of festive products and creative opportunities for every kind of crafter.
From Autumn to Christmas, birthdays to anniversaries, and all your celebrations in between and throughout the year... this catalog is the perfect way to share the joy of creativity.
It's time to get crafting!!
******************************************
A new line of products for Online Exclusives is here!

You won't find these products in any catalog. These products are a new opportunity to spark creativity, expand a crafting collection and discover new opportunities... all from the convenience of the online store.
There is no fixed end date for Online Exclusives! Some products will be reordered when inventory is low and others will only be available while supplies last.
This way, we can offer even more new products throughout the year.
Shop MY ONLINE STORE
***************************************************
If you shopped during the month of July, you earned BONUS DAYS Coupons.
Now that we are in AUGUST, it's time to REDEEM your coupons! Coupons can only be redeemed during the month of August.

****************************************************
Between Aug. 6 - 31st, you can shop select Designer Series Paper from the 2024-2025 Annual Catalog at 15% off!
.jpg)
This is the perfect time to stock up and save on some of your favorite paper.
Click on the image below to view the select DSP that will be on sale.

**************************************************
Stampin' Up! Kits Collection!
Kits by Stampin' Up! are perfect for new crafters, or crafters who want quick and easy projects. All-inclusive project kits have everything you need in one box! Give as a gift or try them yourself. Kits are while supplies last.
"Christmas Wishes" Kit

Keep your Christmas card crafting easy AND elegant with the Christmas Wishes Kit!
This kit comes with bright red card bases detailed with gold foil and coordinating gold, shimmer envelopes. Create your own Christmas cards using the recut paper pieces, the stamp set and Stampin' Spot.
Use the included address labels to send your cards to your recipients!
Kit makes 8 cards, 4 each of 2 designs with 8 envelopes & 8 address labels.
**************************************************
"Haunted Home" Kit

Get your Halloween crafting on with the Haunted Home Kit!
This kit comes with all the paper pieces you need to assemble your very own haunted paper house. You'll start with cardboard walls, precut vellum and other paper pieces for accessorizing. Assemble the house following the instructions then add your own ghostly touch to it.
It's the perfect paper crafting activity for any gathering with fellow crafters, friends and family during the spooky season!
******************************************************
Subscribe to Paper Pumpkin and receive a cute little box each month delivered right to your door.
Each kit includes a photopolymer stamp set, Classic Stampin' Spot and step-by-step instructions to complete exclusive paper craft projects, including cards, tags and gift packaging.
The July Paper Pumpkin kit is called:
"Time For Cake"
Subscribe July 11 to Aug 10, 2024

PLUS - Available now, you can purchase the special crafting "Everyday Celebration" Add-On Dies that coordinated with multiple Paper Pumpkin kits!
** These dies are only available while supplies last... and only available once you become a Paper Pumpkin subscriber.

This Add-On includes 3 dies that coordinate with the July, August & September Paper Pumpkin Kits.
Subscribe by Aug 10 for your Paper Pumpkin kit HERE.
Here's a sneak peak of the September Paper Pumpkin Kit.

****************************************
******************************************
Want today's project tutorial?
Purchase $25 in product (before shipping & taxes) in MY ONLINE STORE. You must use my current host code PFVF22NV in order to receive the tutorial.
*******************************************
If you have any questions, feel free to pop me an email at libbyscraftstudio@gmail.com.
Happy crafting,

* SHOP WITH ME - CLICK HERE
* Shop Online Exclusives - CLICK HERE
* Shop Branded Merchandise - CLICK HERE
* Subscribe to Paper Pumpkin by Aug 10th - "Time for Cake" - CLICK HERE
* Have a big WISH LIST? Want a discount on products purchased? Join My Team - CLICK HERE
* Shop the Clearance Rack - CLICK HERE
* Shop the Kits Collection - CLICK HERE
Wow, Thanks for the written tutorial how you created your luscious faux linen technique. Your floral focal point is so bright and pretty and a real complement to your background.
ReplyDeleteThanks so much, Suzanne! :)
DeleteWOW Polly, that is quite the background... just beautiful and perfect for the floral focal part of your card.
ReplyDeleteThank you, Melissa! :)
DeleteLove, love, love the background and envelope. The bright flowers just light up everything. Great card!
ReplyDeleteThanks so much, Dena! :)
DeleteBeautiful card and envelope, Polly! I love the blend of colors you selected as a background for the bright array of flowers.
ReplyDeleteThanks, Melanie! :)
Delete